The restoration of a 1980's Williams Defender arcade machine
Building a dual Williams Defender and Williams Stargate Control Panel [Part 1]
So I’ve been meaning to build a replacement control panel in order that I can take off the main control panel and replace the leaf switches with new more responsive compatible pinball leaf switches.
Thus I have hatched an evil plan to build a dual Defender AND Stargate compatible control panel to use while I do.
As I have the original control panel overlay (that I replaced with a newer reproduction) I’m going to use that as my basis, and then build the rest as I go.
Ingredients:
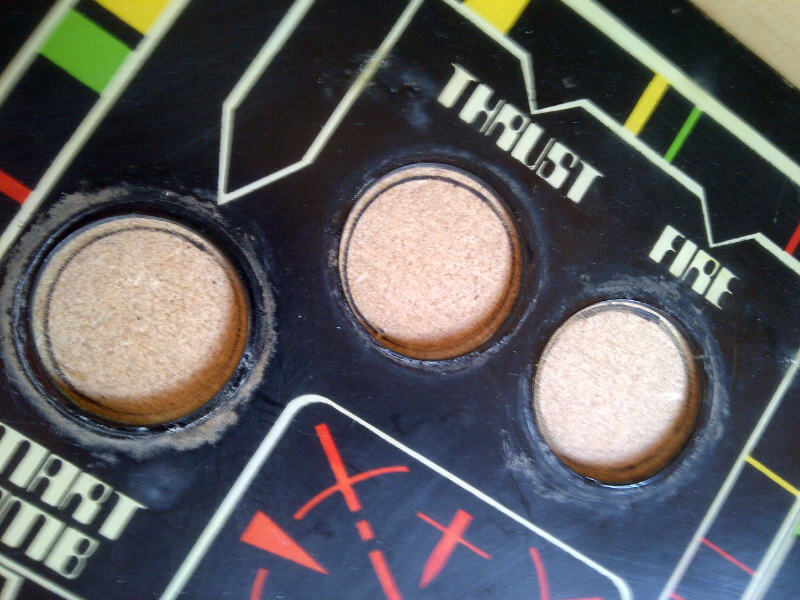
1 x Defender Control Panel Overlay (original with fag burns!)
1 x Plywood board 52cm x 20.5 x 2cm (cut to size of the marquee by my local DIY shop)
4 x White switch buttons
2 x Red switch buttons
1 x Orange switch buttons
1 x 4 way switch joystick (stolen from an old MameP test board)
1 x Stargate Cocktail Control Panel wiring harness (bought ages ago from eBay US)
Tools:
1 x Starrett Sh0118 High Speed Steel Bi Metal Holesaw 29mm to cut the holes (£6.79 Amazon.co.uk)
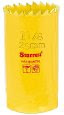
1 x Starrett A1 Arbor to Suit 14mm-30mm Holesaws (£7.74 Amazon.co.uk)
![]()
Step 1:
Get control panel overlay, and new plywood board and hold them together with a big crocodile clip so that we can begin to make out where the controls need to be.
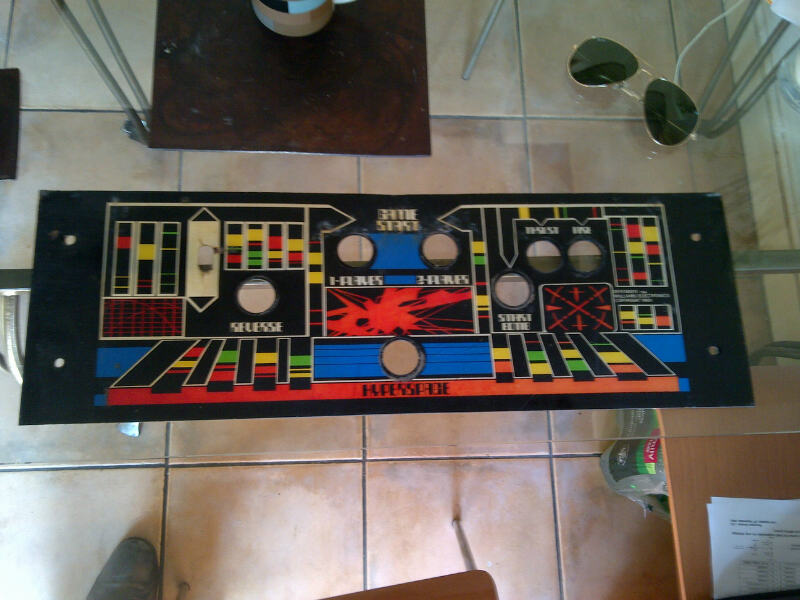
Control Panel Overlay
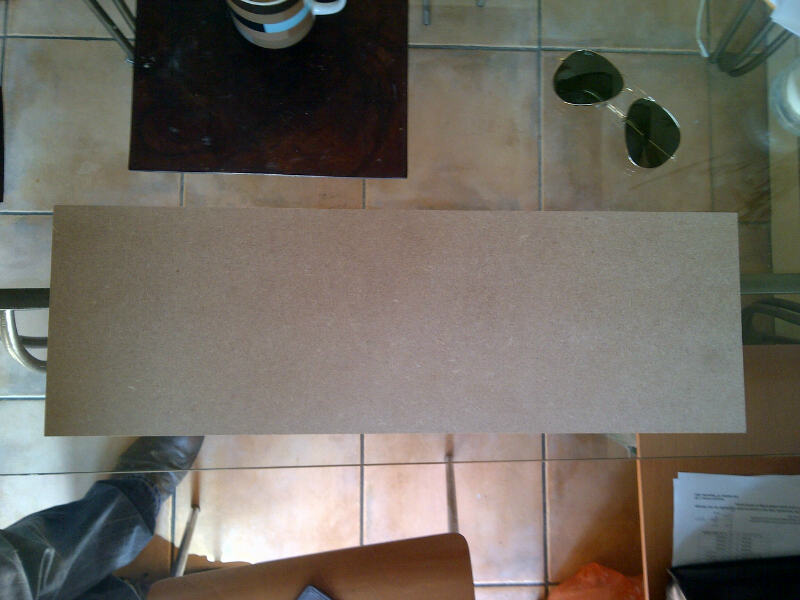
Plywood cut to size
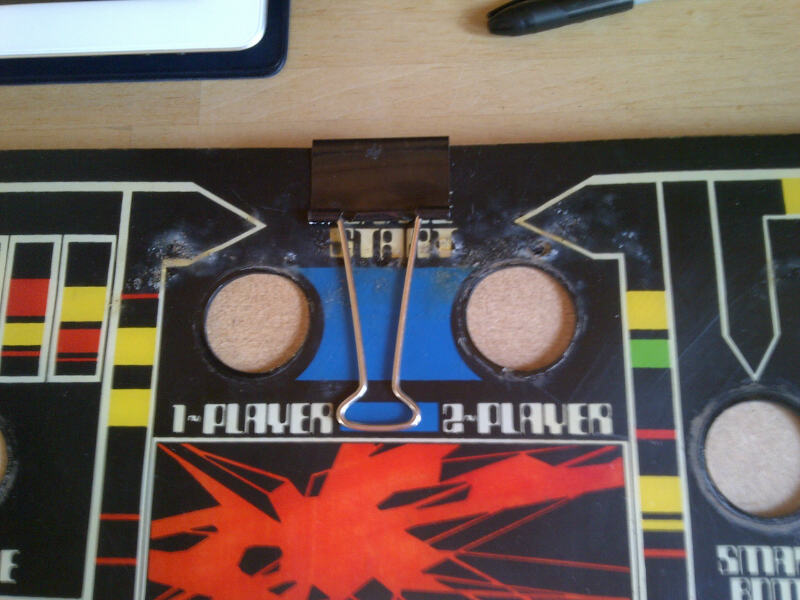
Big Crocodile Clip to hold them together
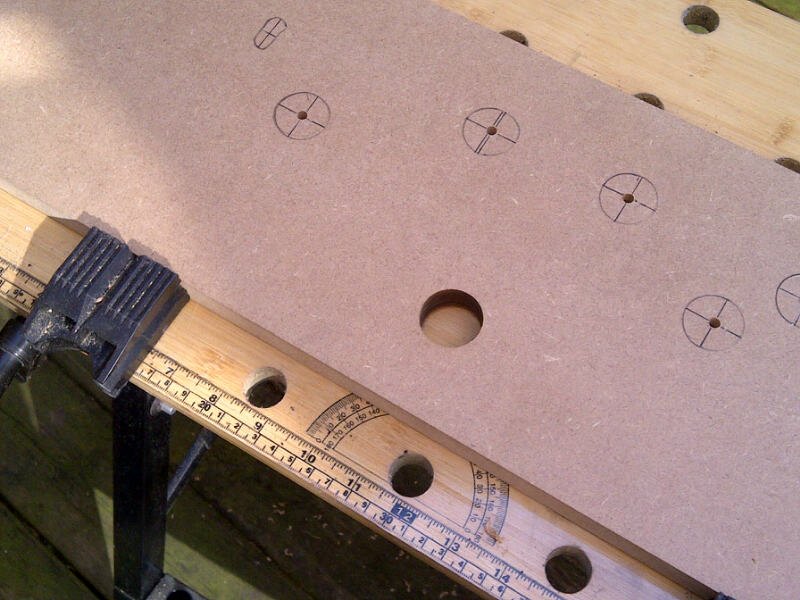
2. Mark up all of the holes so that we know where to drill
and add cross hatches to give us center points to aim for
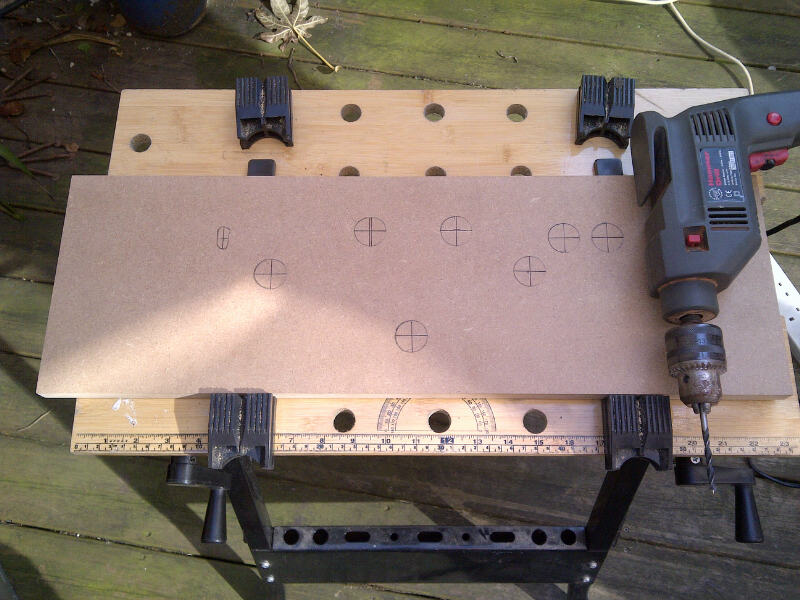
All marked up and ready to go
3. Remove control panel and start making our holes
First hole drilled
4. Start adding our buttons to our control panel
First group of buttons all wired in, and I’ve used spade connectors to connect the old wires to the new switches and desoldered off the old broken leaf switches
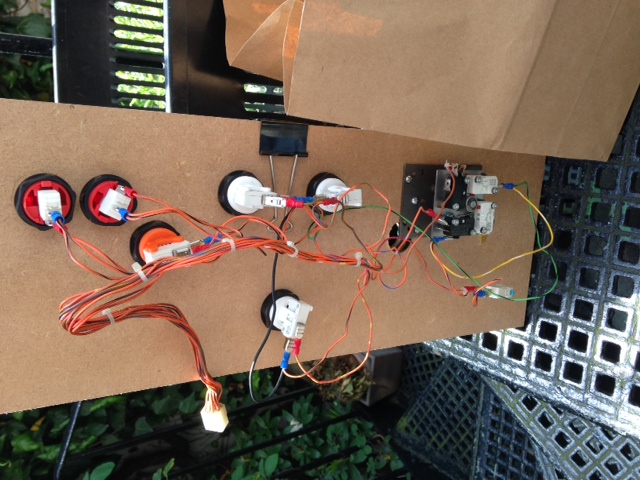
First buttons connected
To enable me to play Stargate AND Defender with the same board, I re-used the ‘Player 2 Start’ button to do both ‘Player 2 Start’ and also ‘Invisio’ – which is the extra connection Stargate has over Defender
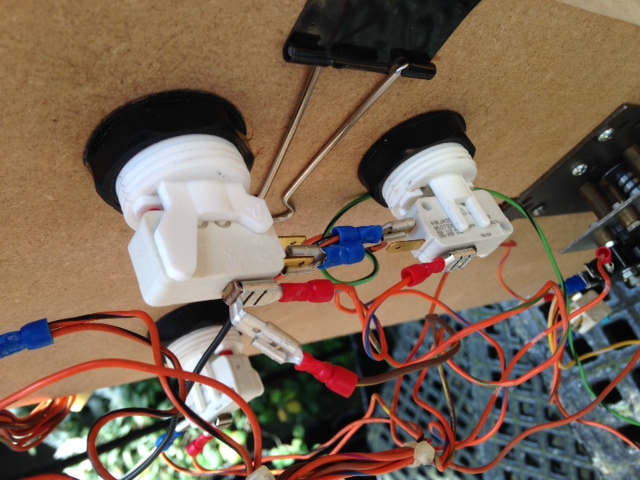
Double connection for Player 2 button
5. Add our joystick to our control panel
I’m thinking that in the future I might want to be able to play Robotron too, and because I have a 4-way joystick to connect anyway, I’m leaving the option to add that wiring later.
4-way joystick
One challenge with the 4-way joystick versus the 2-way joystick is that it is wider on the horizontal axis and overlaps the reverse button hole as you can see. Cleverly the way around this is to cut a small slot section out of the side of the button we are using for reverse, so that the joystick mount can slide into it.
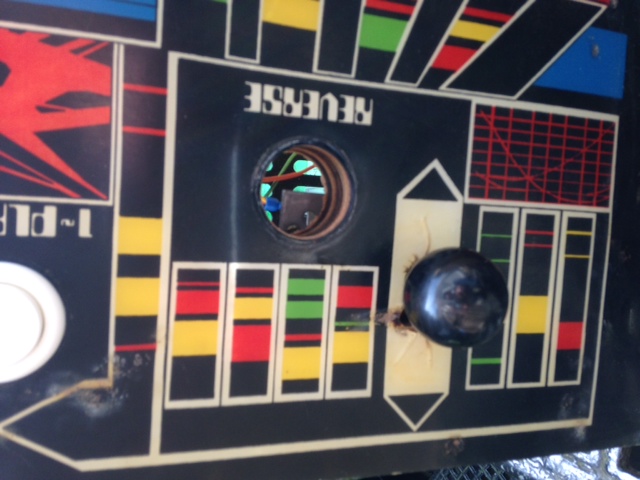
Overlap with Reverse
6. Nearly finished project
Still need to add Control Panel Catches to allow the board to be secured, and a 45o cut on the back edge to allow the board to fit ‘snug’ to the Defender main screen, but looking pretty good so far
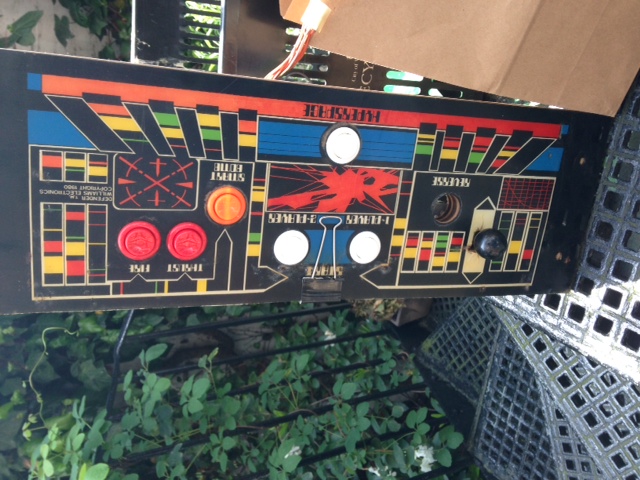
Nearly complete Control Panel

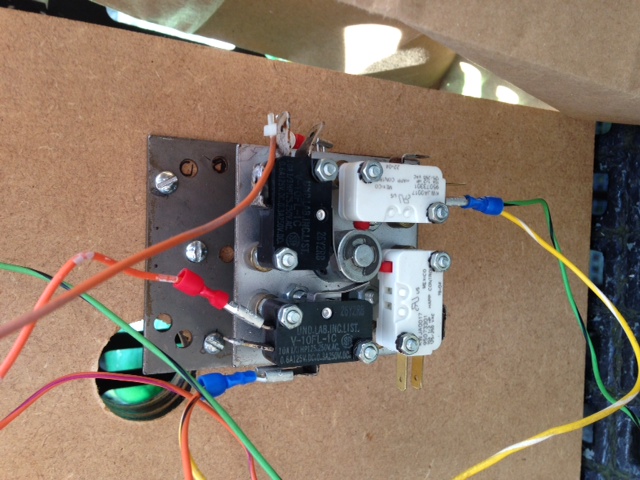
Control Panel Wiring
Still to be documented….
– Wiring connector from the Control Panel to the Interface Board [done]
– Testing on the Defender cabinet [done]
– Adding Catches [TBC]
– Adding an angle cut to the back edge of the Control Panel [TBC]
– Explaining how to convert a Defender Interface Board to work with Stargate too [done but not documented]
| Print article | This entry was posted by Judder on June 10, 2014 at 5:32 pm, and is filed under Control Panel, Williams Defender restoration. Follow any responses to this post through RSS 2.0. Both comments and pings are currently closed. |
Comments are closed.
Recent Comments