The restoration of a 1980's Williams Defender arcade machine
Testing: Building a Williams Test Rig (part 2 – interchangeable power supplies)
In order to keep the Williams Defender harness I have as original as possible, I don’t want to replace any of the original connectors so instead we are going to make the linear PSU and the original Williams PSU totally switchable using connectors.
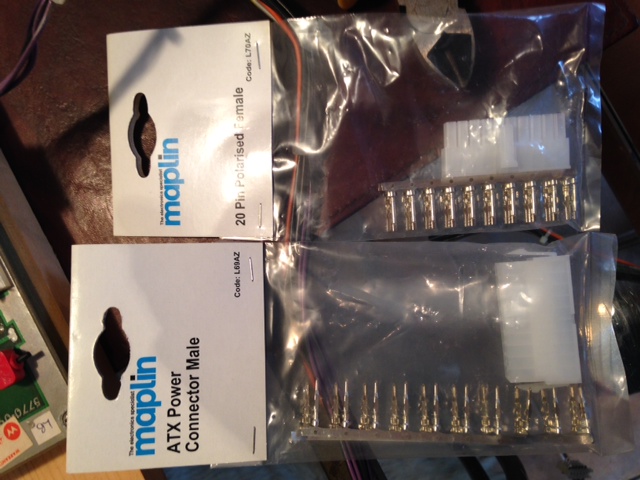
1. Acquire male and female ATX connectors
The number of wires used, and the voltages represented by standard PC ATX connectors are fairly similar to the amount of wires on the Williams Defender standard harness so they provide a good way of making the original Williams PSU connector and our new linear PSU connector interchangeable.
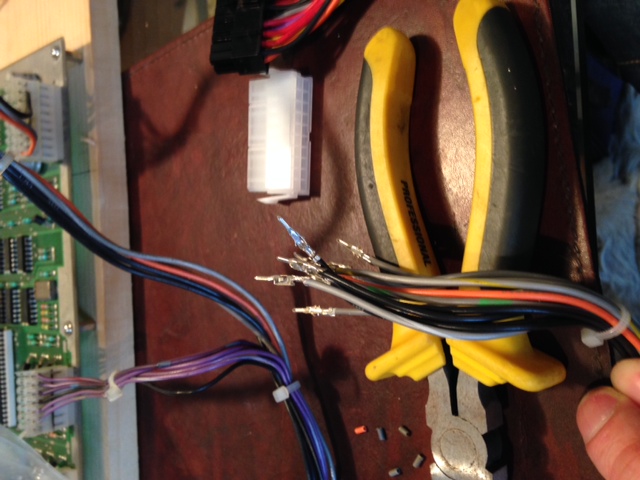
2. Hold our breath and snip the wires for the original Williams PSU connector

3. Crimp all of the wires with our new ATX pins
4. Complete our ATX -> Williams PSU connector for 100% compatibility with original Williams PSU

5. Wire in our Switchable PSU to the other ATX connector and connect up
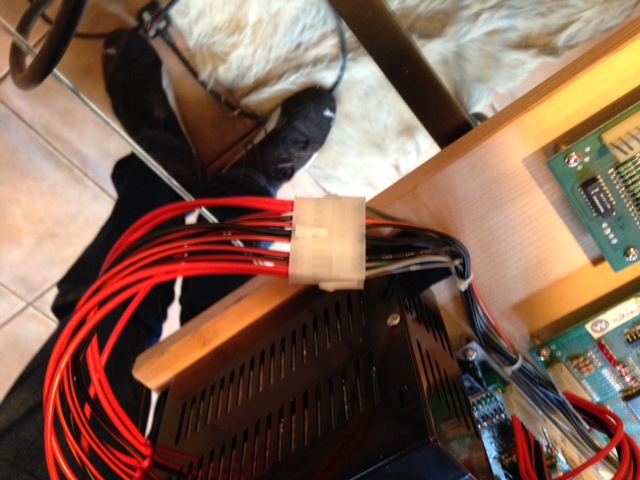
6. Wire up the +5V, +12V and -5V to the linear PSU
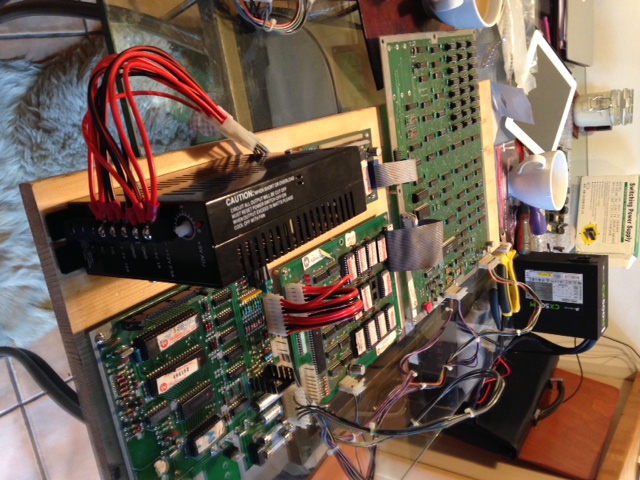

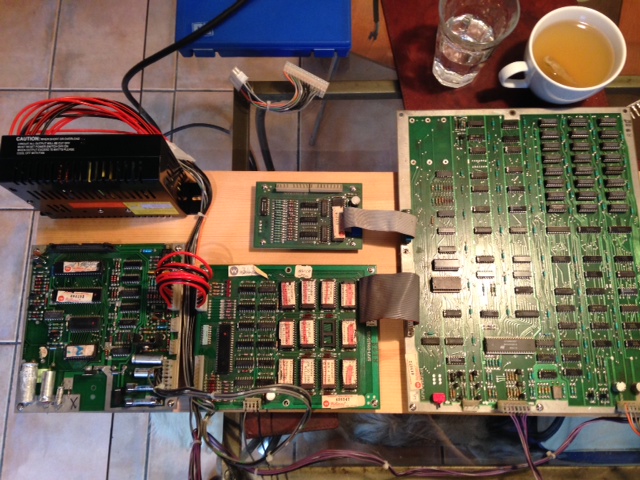
7. Sit back with a cup of tea and admire our handy work (you can see the original Williams PSU connector wired as well in the top of the photo)
| Print article | This entry was posted by Judder on April 29, 2014 at 5:01 pm, and is filed under Power Supply Unit, Testing, The Boards, Williams Defender restoration. Follow any responses to this post through RSS 2.0. Both comments and pings are currently closed. |
Comments are closed.
Recent Comments